 joyce
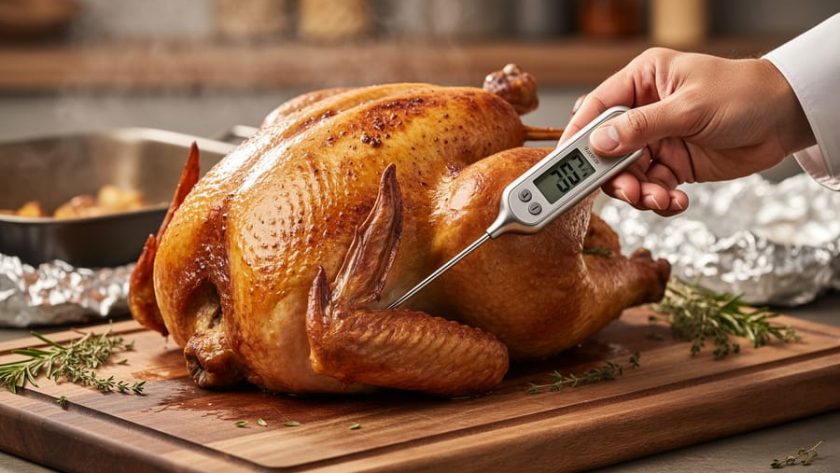
joyce Roasting a turkey takes approximately 13 to 17 minutes per pound at 350°F (177°C) for an unstuffed bird, and 15 to 18 minutes per pound for a stuffed one. That simple formula gives you a ballpark estimate, but here’s what matters more: your turkey is done when a meat thermometer reads 170°F (77°C) in the thickest part of the thigh for an unstuffed turkey, or 180°F (82°C) for a stuffed bird (with the stuffing itself reaching at least 165°F / 74°C). Time estimates help you plan your day, but temperature tells you when it’s safe to serve.
Before we dive into the timing charts, let’s clear up a dangerous confusion that trips up many home cooks: the “24 hours per 5 pounds” guideline you might have seen refers to thawing time in the refrigerator, not cooking time. Using that number for roasting would mean leaving a turkey in the oven for days, which is both absurd and unsafe. Health Canada’s thawing guideline and their cooking time recommendations are completely different measurements.
Getting the timing right matters because nobody wants a dry, overcooked bird or an undercooked centerpiece that delays dinner. With the right approach, a meat thermometer, and these verified time ranges, you’ll roast a perfectly golden turkey that’s juicy, safe, and ready when your guests arrive. Let’s walk through exactly how to calculate your cooking time and nail it every time.
What You Need to Know Before Calculating Cooking Time
Before you start calculating, let’s clear up a dangerous confusion that trips up many cooks. You might have heard “24 hours per 5 pounds” floating around turkey advice, but that’s a thawing guideline, not a cooking time. Thawing a frozen turkey in the refrigerator takes roughly one day for every 5 pounds of bird. Actual roasting time is dramatically shorter: around 13-15 minutes per pound for an unstuffed turkey at 350°F, or 15-17 minutes per pound if stuffed.
Whether you stuff your turkey matters significantly for roasting duration. Stuffing adds 30-60 minutes to the total cook time because the cavity filling must reach a safe 165°F, which slows heat penetration to the inner thigh meat. An unstuffed bird roasts faster and more evenly.
Your oven’s actual temperature makes or breaks these calculations. Most home ovens run 15-25 degrees off their dial setting. If yours runs cool, your turkey takes longer than the chart suggests. If it runs hot, you risk a dried-out exterior before the interior reaches safe temperatures.
Here’s the non-negotiable part: you need a reliable meat thermometer. Time estimates are helpful for planning, but only internal temperature tells you when your turkey is safely done. Guessing puts your guests at risk for foodborne illness. A decent instant-read or probe thermometer costs less than the turkey itself and removes all guesswork from the process.
Essential Tools and Materials
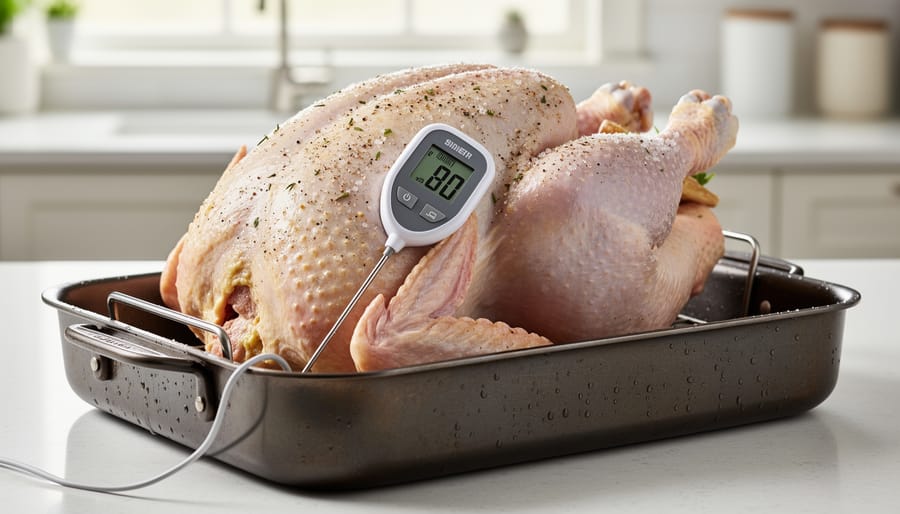
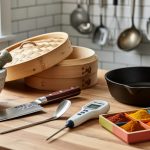
You can’t roast a turkey properly without the right kitchen tools on hand. These aren’t fancy cooking equipment items, just the essentials that make the difference between guesswork and reliable results.
- Reliable meat thermometer (instant-read or oven-safe probe), the only way to verify safe internal temperatures of 170°F unstuffed or 180°F stuffed
- Shallow roasting pan with rack, elevates the turkey for even heat circulation and prevents soggy skin
- Aluminum foil, covers the breast if it browns too quickly, lets you tent the bird during resting
- Oven thermometer, confirms your oven actually holds 350°F, since many run hot or cold
- Kitchen timer, keeps you on track without constant clock-watching
The meat thermometer is non-negotiable. You’re measuring doneness by temperature, not time, so this tool determines when your turkey is safe to eat. An oven thermometer might seem excessive, but a 25-degree variance throws off every calculation. The rack matters because it allows hot air to reach the underside, cooking the bird evenly instead of steaming the bottom.
Turkey Cooking Time Chart by Weight
Planning your holiday turkey starts with knowing roughly how long it will take in the oven. The chart below shows verified cooking times tested in real kitchens and sourced from Health Canada guidance. All times assume roasting at 350°F in a conventional oven with the turkey placed breast-up in a shallow pan.
Turkey Cooking Time Reference Chart (350°F)
| Turkey Weight | Unstuffed | Stuffed |
|————–|———–|———|
| 8-10 lbs | 2h – 2h 30min | 2h 40min – 3h 30min |
| 11-13 lbs | 2h 45min – 3h 15min | 3h 40min – 4h 20min |
| 14-16 lbs | 3h 30min – 4h | 4h 40min – 5h 20min |
| 17-19 lbs | 4h 15min – 4h 45min | 5h 40min – 6h 20min |
| 20-22 lbs | 5h – 5h 30min | 6h 40min – 7h 20min |
For turkeys over 22 pounds, add approximately 30 minutes per additional 2 pounds for unstuffed birds, 45 minutes per 2 pounds for stuffed.
These time ranges provide a helpful planning estimate, but they are not absolute. Your turkey might finish earlier or later depending on variables like your oven’s actual temperature, whether the bird started at room temperature or fridge-cold, and how often you open the oven door. A 14-pound turkey could legitimately need 3 hours and 20 minutes or a full 4 hours.
That’s why internal temperature, not clock time, determines when your turkey is actually done. Use these ranges to plan your day and set your initial timer, but always verify doneness with a meat thermometer before removing the bird from the oven. The chart gives you the roadmap; the thermometer tells you when you’ve arrived.
Critical Safety Temperatures You Must Hit
Your thermometer is the only reliable way to know your turkey is safe to eat. Health Canada sets specific internal temperature targets to eliminate harmful bacteria, and hitting these numbers isn’t negotiable.
The temperature readings tell you when protein has cooked thoroughly and pathogens are destroyed. Unstuffed turkeys reach safety at 170°F because the heat penetrates meat directly. Stuffed birds need 180°F in the meat because the stuffing acts as insulation, slowing heat transfer to the innermost portions. That stuffing itself must hit 165°F at its center, where it stays coolest longest and bacteria can survive if undercooked.
Insert your thermometer into the thickest part of the inner thigh, angling toward the body cavity. Push it deep but stop before it touches bone, which conducts heat differently than meat and gives false readings. For stuffed turkeys, you’ll need a second reading: probe straight into the center of the cavity stuffing, reaching the middle where it’s densest and slowest to heat.
Check both thighs and the thickest part of the breast. Dark meat in the thighs typically takes longer than white breast meat, so the thigh is your critical checkpoint. If one area lags behind, tent that section with foil and continue roasting while monitoring closely.
These aren’t arbitrary numbers. They’re the result of food safety research showing what it takes to kill salmonella and other pathogens that naturally occur in poultry. A turkey that looks golden and smells wonderful can still harbour bacteria if the inside hasn’t reached safe temperature.
Step-by-Step Roasting Process
Preparing the Turkey for the Oven
Start by setting your oven to 350°F and let it fully preheat while you prep the turkey. This takes about 15 minutes and ensures even roasting from the start. Never put a turkey into a cold oven, as the inconsistent temperature will throw off your timing calculations.
If you’re stuffing your turkey, do it now during the preheat. Spoon prepared stuffing loosely into the neck and body cavities, don’t pack it tight, as it needs room to expand and reach that safe 165°F internal temperature. Tuck the legs and tie them if desired, then fold the wing tips under the body. Remember, stuffing adds significant cooking time (about 30-50% longer depending on bird size), so only stuff if you’ve planned for the extended roast.
Position your turkey breast-side up on a rack in a shallow roasting pan. The rack lifts the bird above drippings, allowing hot air to circulate underneath for more even cooking. Make sure the pan isn’t too deep, sides higher than 2-3 inches can block heat and create uneven roasting. Your turkey is now ready for the oven.
Monitoring During Roasting
Once your turkey is in the oven, you’ll want to manage heat exposure and track progress without opening the door too often.
Step 4: Managing Foil Coverage
Start roasting uncovered to allow the skin to brown. If the breast or wing tips begin browning too quickly, usually after the first hour or so, loosely tent those areas with aluminum foil. Don’t wrap tightly; you want air circulation. Remove any foil for the final 30-45 minutes to crisp the skin.
Step 5: Checking Temperature as You Roast
Insert your meat thermometer into the thickest part of the inner thigh without touching bone, this spot takes longest to reach safe temperature. For the first check, wait until you’re within 30 minutes of the estimated finish time from your weight chart. If you’re well below target (say, 140°F when you need 170°F), give it another 20-30 minutes before checking again. Resist opening the oven frequently; each peek drops the temperature and extends cooking time. When the thigh reads 170°F for unstuffed or 180°F for stuffed, check the thickest breast part and stuffing center (165°F minimum) to confirm doneness across the bird.
Final Steps and Resting Time
Once your thermometer confirms safe temperatures throughout, 170°F (77°C) for unstuffed turkey meat, 180°F (82°C) for stuffed, and 165°F (74°C) minimum in the center of any stuffing, remove the roasting pan from the oven. Transfer the turkey to a clean cutting board or serving platter and tent it loosely with aluminum foil.
Now comes the hardest part: waiting. Let the turkey stand for a full 20 minutes before you carve. This resting period isn’t optional fussiness, it allows the juices that have been pushed toward the center during roasting to redistribute throughout the meat. Carve too soon and those flavorful juices run straight onto the cutting board instead of staying in each slice.
Use these 20 minutes to organize your kitchen finish side dishes, or set the table. When you finally carve, the meat will be noticeably juicier and easier to slice cleanly.
How to Verify Your Turkey Is Perfectly Done
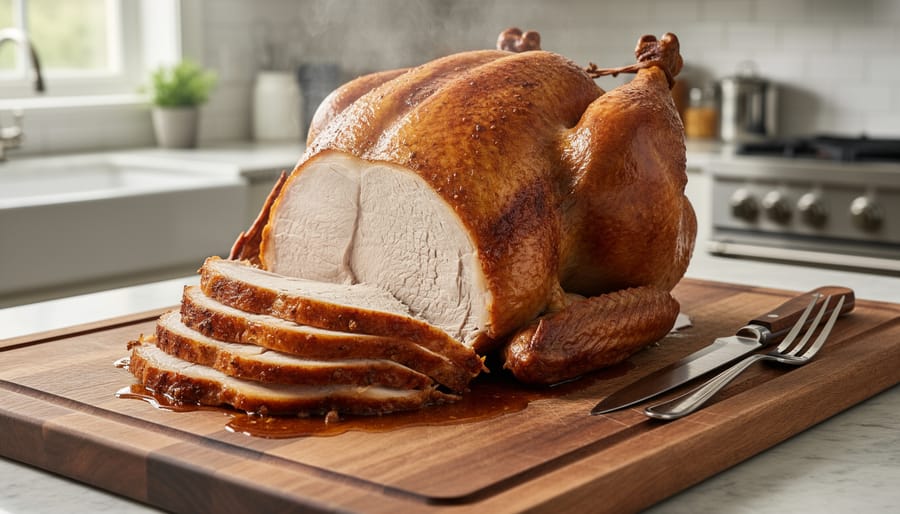
Checking multiple spots with your thermometer is the only reliable way to confirm your turkey is fully cooked. Insert the probe into the innermost part of both thighs without touching bone, these are the slowest-cooking areas and should reach 170°F for an unstuffed bird or 180°F if stuffed. Then check the thickest part of the breast near the breastbone, and if you’ve stuffed your turkey, push the thermometer deep into the center of the stuffing to verify it has hit at least 165°F.
Visual cues support temperature readings but should never replace them. When your turkey is done, juices will run clear rather than pink when you pierce the thigh, and the drumstick should wiggle loosely in its socket. If one area reaches temperature while another lags behind, tent the finished portions loosely with aluminum foil and continue roasting, checking every 10-15 minutes.
Once all areas hit their target temperatures, remove the turkey from the oven and tent it loosely with foil. Let it stand for a full 20 minutes before carving, this resting period is essential for juices to set and makes carving much easier. The turkey will stay hot during this time and actually continue cooking slightly, so don’t rush this step. After resting, your turkey is ready to carve and serve safely.
Common Questions About Turkey Cooking Times
Can I cook a frozen turkey to save time?
No, you must fully thaw your turkey before roasting. Cooking from frozen requires specialized methods and takes significantly longer, plus it’s nearly impossible to achieve safe internal temperatures throughout the bird without overcooking the exterior.
Why is my turkey done earlier or later than the chart predicted?
Oven temperature accuracy is the biggest culprit. Many home ovens run 25°F hotter or cooler than the dial shows, which dramatically affects timing. The turkey’s starting temperature also matters, a bird straight from a cold fridge takes longer than one that’s sat at room temperature for 30 minutes.
Do I need to baste my turkey during roasting?
Basting is optional and mostly affects appearance rather than moisture. Opening the oven door repeatedly to baste drops the temperature and can add 15-30 minutes to your total cooking time, so if you choose to baste, account for that in your planning.
What if I don’t have a meat thermometer?
I strongly discourage roasting without one, since it’s the only reliable way to ensure safety. As a backup, look for legs that move freely in their sockets and juices running completely clear when you pierce the thickest part of the thigh, but these signs aren’t foolproof for confirming the stuffing has reached 165°F.
Beyond these common concerns, remember that every oven behaves differently. If you’re cooking at a temperature other than 350°F, expect your timing to shift, higher temperatures cook faster but risk drying out the meat, while lower temperatures extend the process and require careful monitoring to keep the turkey out of the food safety danger zone for too long. The weight-based estimates in the earlier chart give you a solid starting point, but treating them as flexible guidelines rather than rigid rules will serve you better. Check your turkey’s temperature an hour before you expect it to finish, then every 20 minutes as it approaches the safe range. That way, you won’t be caught off guard by an early bird or scrambling to keep guests waiting for a slow one.
Knowing that turkey typically roasts at 13-15 minutes per pound unstuffed or 15-17 minutes per pound stuffed at 350°F gives you a solid starting point for planning your holiday meal. But here’s what really matters: your meat thermometer is the ultimate guide. When it reads 170°F in the thickest part of the thigh for an unstuffed bird, or 180°F for a stuffed one, you’re done. Don’t skip that 20-minute rest before carving, it makes all the difference.
These guidelines work. They’re tested, reliable, and take the guesswork out of what can feel like a high-stakes cooking project. Trust your thermometer, follow the process, and you’ll serve a beautifully roasted turkey that’s moist, safe, and worth celebrating. We’d love to hear how your turkey turns out, share your experience in the comments below!