 joyce
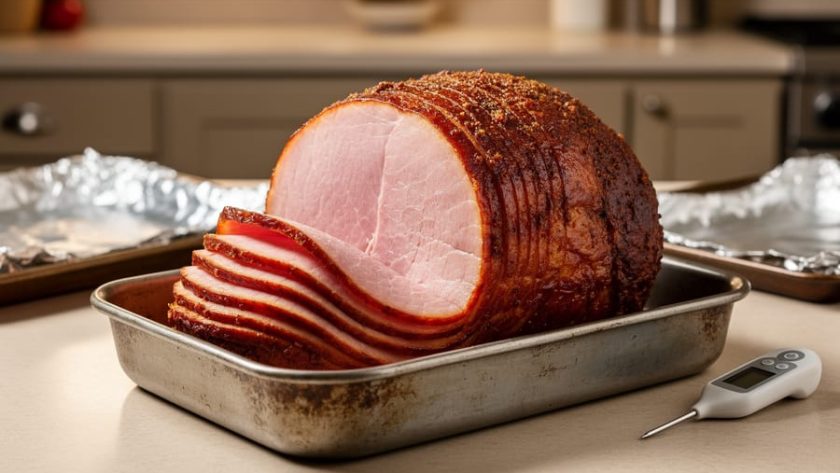
Good news: your Kirkland spiral ham is already fully cooked, so you’re simply reheating it to an internal temperature of 140°F. Plan on heating at 325°F for 12 to 15 minutes per pound, which means an eight-pound ham will be table-ready in about 90 minutes to two hours. The real goal here isn’t cooking; it’s warming the meat through without drying it out, and keeping it moist while the edges caramelize slightly.
We’ve worked with plenty of spiral hams over the years, and the most common mistake is cranking the oven too high or leaving the ham uncovered. Both turn a perfectly good piece of meat into something dry and disappointing. At Vite Une Recette, all our tested recipes emphasize gentle heat and proper coverage, and this ham is no exception.
Whether you picked up your Kirkland ham at Costco for a holiday dinner or a Sunday gathering, you’ll want to give yourself enough time to let it warm slowly and evenly. Rushing the process with higher heat might save 20 minutes, but you’ll sacrifice juiciness. This guide walks you through the exact steps, the tools you need, and how to know when it’s done, so you can serve a ham that’s tender, flavorful, and worth the effort.
What You’ll Need to Heat Your Ham
Getting your Kirkland spiral ham ready for the oven doesn’t require any special equipment, chances are you already have everything you need. A little smart kitchen organization before you start will make the process even smoother.
Here’s what you’ll need:
- Roasting pan with a rack to keep the ham elevated, allowing heat to circulate evenly and preventing the bottom from sitting in juices
- Aluminum foil to tent over the ham, locking in moisture and preventing the surface from drying out during heating
- Oven mitts for safe handling of hot pans and racks throughout the process
- Meat thermometer (highly recommended) to accurately verify the ham reaches 140°F for food safety and optimal warmth
- Basting brush or spray bottle (optional) to apply liquids or glaze and keep the surface moist
- Sharp carving knife (optional but helpful) for serving once the ham has rested
The meat thermometer deserves special mention. While you can estimate heating time by weight, a thermometer removes all guesswork and ensures your ham is perfectly warmed without overcooking. These simple kitchen tools work together to deliver consistent results every time, no complicated gadgets required, just reliable basics you probably reach for regularly.
Important Safety and Handling Tips
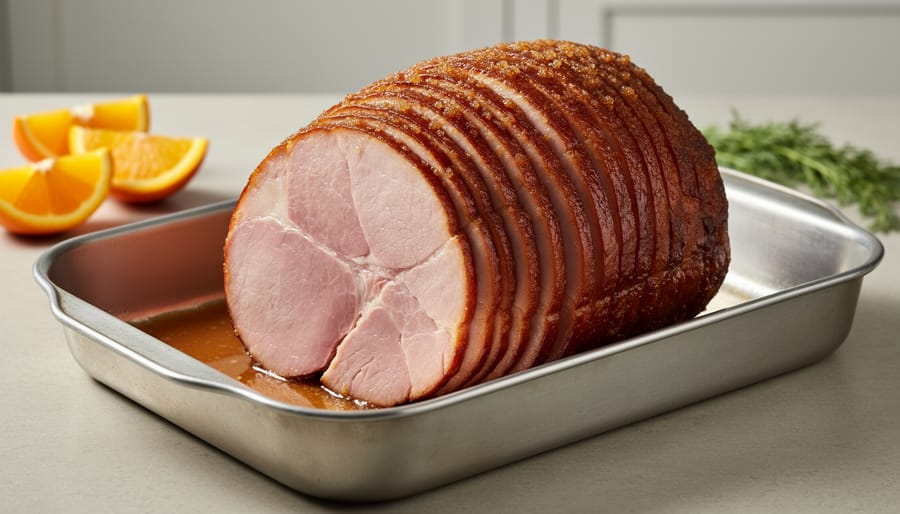
Before you start heating your Kirkland spiral ham, a few simple safety steps will help you avoid common mistakes and keep your meal both delicious and safe. Because this ham is already fully cooked, you’re reheating it rather than cooking raw meat, but proper handling still matters.
If your ham is frozen, always thaw in refrigerator safely before heating. Place it on a tray to catch any drips and allow 24 hours of thaw time for every 5 pounds of ham. Never thaw at room temperature, as this creates the perfect environment for bacteria to multiply.
When handling the ham and roasting pan, use oven mitts to protect yourself from burns, the pan and juices will be extremely hot. Keep your workspace clean by washing your hands before and after touching the ham, and wipe down any surfaces that come into contact with raw packaging or drippings. While the ham is pre-cooked, basic food safety habits prevent cross-contamination with other ingredients in your kitchen.
Take these precautions seriously, but don’t stress. With a little care up front, you’ll have a perfectly heated ham and a safe, enjoyable meal.
Step-by-Step Heating Instructions
Choosing Your Oven Temperature
You’ll see oven temperatures for spiral ham ranging from 300°F to 350°F across different recipes, and all of them work, the key is understanding the trade-offs. The most widely recommended temperature is 325°F because it strikes the best balance: the ham heats through evenly in a reasonable timeframe without drying out the edges.
If you choose a lower temperature like 300°F, expect the process to take longer (closer to 15-18 minutes per pound), but you’ll get slightly moister results since the gentler heat reduces moisture loss. On the flip side, heating at 350°F speeds things up, which is handy when you’re pressed for time, but you’ll need to watch the ham more carefully and check the internal temperature sooner to avoid overcooking the outer layers.
The good news? Your ham won’t fail if you land anywhere in this range. As long as you tent it with foil and monitor the internal temperature, reaching that 140°F target, you’ll end up with a beautifully warmed centerpiece. Pick the temperature that fits your timeline, and trust the process.
Calculating Your Heating Time
Figuring out your heating time is straightforward once you know your ham’s weight. For a whole Kirkland spiral ham, multiply the weight by 12 to 15 minutes per pound. If you’ve got a half ham, use 16 to 18 minutes per pound instead, the smaller mass heats a bit differently.
Let’s work through a quick example. Say you have an 8-pound whole ham and you’re heating it at 325°F. Multiply 8 by 12 to get 96 minutes (1 hour 36 minutes) on the low end, or 8 by 15 to get 120 minutes (2 hours) on the high end. Your heating window is roughly 1 hour 36 minutes to 2 hours.
For a 5-pound half ham, you’d calculate 5 times 16 (80 minutes) to 5 times 18 (90 minutes), giving you about 1 hour 20 minutes to 1 hour 30 minutes.
These times are helpful guides, but they’re not absolute. Oven variations, starting temperature, and pan depth all affect the actual time needed. That’s why a meat thermometer is your best friend here, once the thickest part hits 140°F, your ham is perfectly warmed through, regardless of the clock.
How to Tell When Your Ham Is Ready
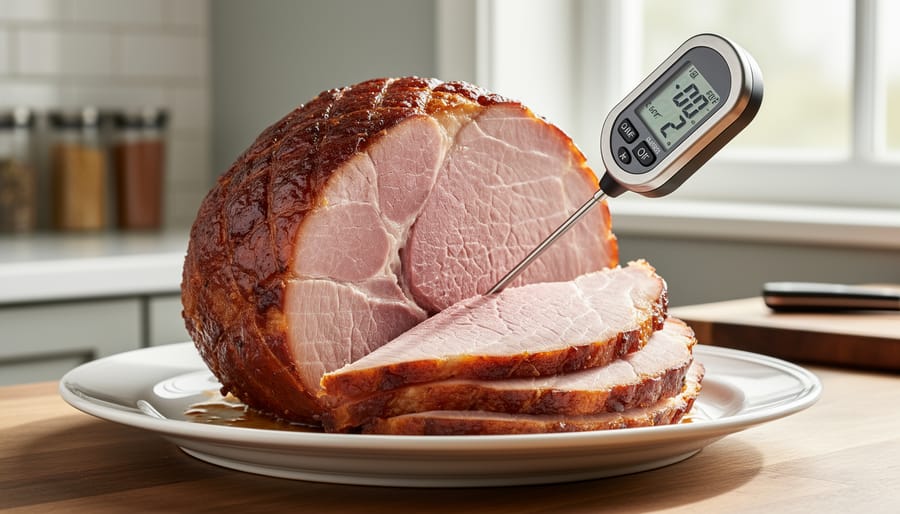
The most reliable way to confirm your ham is ready is with an instant-read meat thermometer inserted into the thickest part of the meat, avoiding the bone. You’re looking for an internal temperature of 140°F, this ensures the ham is heated through and safe to serve. Since Kirkland spiral hams are fully cooked at purchase, you’re verifying warmth and moisture rather than traditional doneness.
Visual cues offer helpful backup confirmation. The ham should feel hot throughout when you carefully touch the surface (use an oven mitt). If you’ve applied a glaze, it should appear set and slightly caramelized with a glossy sheen, not runny or pale. The meat’s exterior may glisten with moisture and natural juices.
Once your thermometer reads 140°F, remove the ham from the oven and tent it loosely with foil. Let it rest for 10-15 minutes before carving. This resting period allows the juices to redistribute throughout the meat, ensuring each slice stays moist and flavorful rather than losing liquid when you cut.
If you don’t own a meat thermometer, rely on your calculated heating time (12-15 minutes per pound at 325°F) and check that the ham feels uniformly hot. However, investing in a basic thermometer takes the guesswork out and gives you confidence every time.
Frequently Asked Questions
The questions below come up time and again from readers heating their Kirkland spiral ham, so let’s tackle them head-on.
Can I heat my Kirkland spiral ham straight from frozen?
No, always thaw the ham completely in the refrigerator first. Heating from frozen leads to uneven warming, extended cook times, and a higher risk of drying out the exterior while the center stays cold.
How do I keep my ham from drying out?
Cover the ham loosely with aluminum foil to trap moisture, and spritz it lightly with water or apple juice every 30 minutes during heating. Most importantly, don’t overheat, pull it from the oven once it reaches 140°F.
Can I use the glaze packet that comes with the ham?
Yes, Kirkland spiral hams often include a glaze packet. While exact application instructions vary by package, most cooks brush it on during the last 20-30 minutes of heating, then remove the foil to let it caramelize slightly. Check your specific package for guidance.
How long can I store leftover ham?
Store leftovers in an airtight container in the refrigerator for 3-4 days. Make sure the ham cools to room temperature before sealing it up, and reheat individual portions gently to avoid further drying.
If you don’t own a meat thermometer, rely on the timing guideline of 12-15 minutes per pound at 325°F and check that the ham feels hot throughout when you slice into the thickest part. That said, a thermometer takes the guesswork out entirely and gives you confidence the ham has reached a safe 140°F without overcooking. For a few dollars, it’s one of the best investments you can make for worry-free holiday meals.
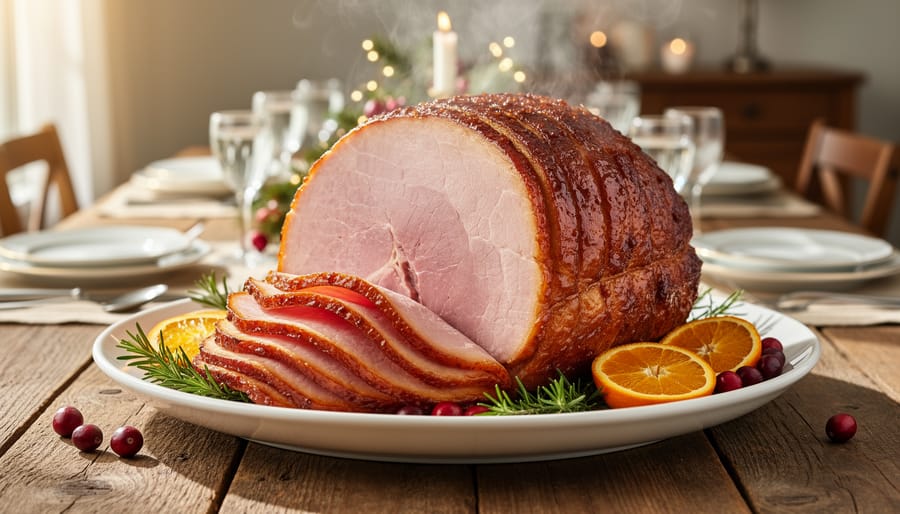
You’ve got this. Heating your Kirkland spiral ham doesn’t have to be stressful, just stick to the basics: 325°F oven, 12-15 minutes per pound, and an internal temperature of 140°F. These instructions have been tested to give you a moist, delicious centerpiece every time.
Now it’s time to slice, serve, and enjoy the meal with your family and friends. Your Kirkland ham makes any gathering feel special, whether it’s a holiday feast or a simple Sunday dinner.
Did these instructions work well for you? We’d love to hear how your ham turned out or answer any questions you might have. Feel free to reach out through our contact page and share your experience. Happy cooking!